Here are a few simple do-it-yourself plumbing tasks that any keen renovator can tackle with the wonders of YouTube. I’ve tried my hand at some of the simpler plumbing fixes and updates required for renovation but hand over anything concerning moving in wall plumbing to the professionals.
One of the biggest money savers in bathroom renovation is to leave the drainage and water supply in their current position. Sometimes its worth changing the layout to optimise the function of the bathroom. This job will require professional trades but you can do some of the prep work for them by identifying and exposing pipes.
How do I know where my water pipes are?
I use a Bosch Multiscanner (wall scanner/ stud finder) which has 3 modes to pick up wood, electrical and metal. These are really handy when you’re drilling into any wall in your house you need to check for electrical wires and plumbing pipes hidden in the walls.
Set the mode to metal when checking the location of copper pipes. Look on the back of the stud finder, it has three sensors which all need to have contact with the wall to work correctly.
Hold the wall scanner on the wall and move in a horizontal and vertical direction slowly. Watch the screen and light for indication of the pipe location.
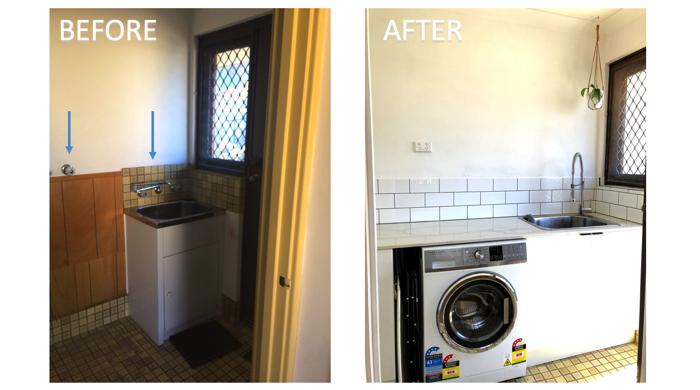
Replace two taps with a single mixer tap
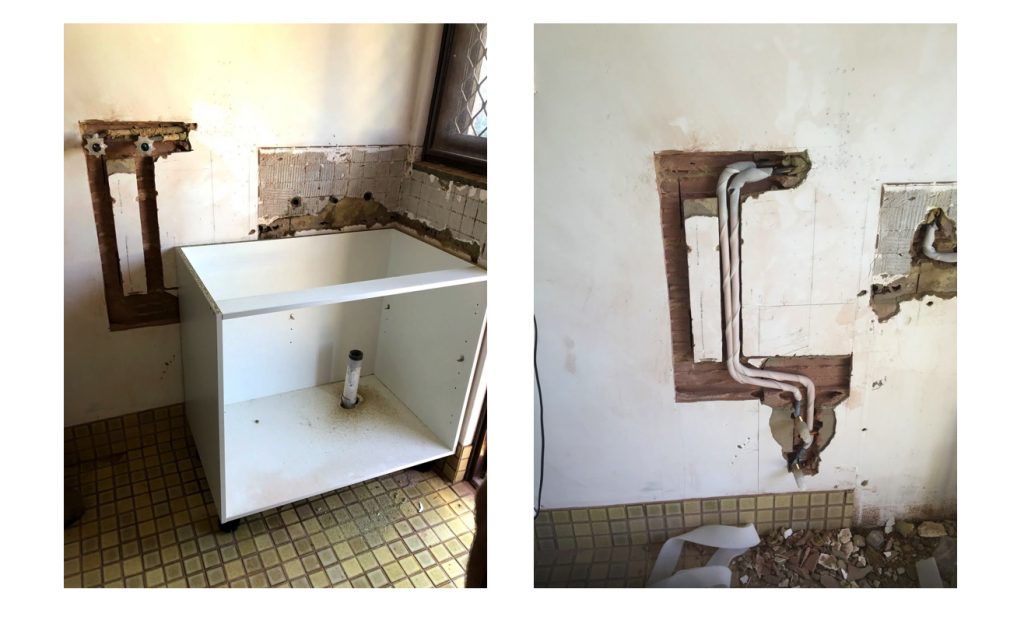
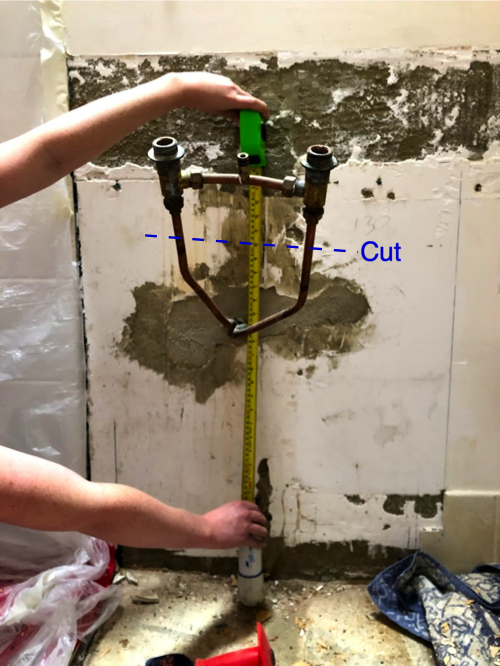
If your bathroom renovation involves changing your taps to a mixer this is a job you can do yourself and save money. The process is relatively simple if you have old copper pipes like the photo below.
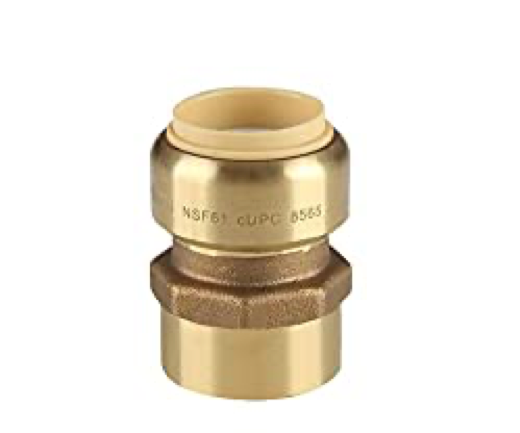
You’ll need two push fit copper connectors, fine sand paper and the coupling removal tool.
- First mark the pipes near the wall with Hot and Cold and remember to turn off your water mains!
- Empty the water sitting in the pipes first so you don’t end up making a huge mess, just turn on the hot and cold taps until there is no water running out. I’m always very conservative with this in case I don’t get a good connection with the coupling I like to have enough pipe left to cut it back further and try again.
- Use a hacksaw with a metal cutting blade or a pipe cutting tool. Copper is really soft to cut so try not to dent the pipe.
- Use the sand paper to remove any build up on the outside of the pipe and burs on the cut edge. The metal should look shiny and new. If the surface isn’t prepared well you’ll end up with leaks.
Slide in the coupling, once this is slid onto the end of the pipe it will be impossible to remove without the tool.
After the couplings are attached just screw in the hot and cold flexi pipes. Turn the water mains back on, I prefer to have someone with me when doing this, they go to the water mains tap and I have them on the phone so I can tell them straight away to turn it back off if there are leaks.
If there is a leak just turn the mains back off, remove the couplings. check the cut edge of the pipe is level, re-sand the end of the pip and about the last inch of the pipe that the coupling is attaching to and try again.
Tackling some of these minor plumbing alterations is a great way to save money on bathroom renovations.
Plumbing a new bathroom sink
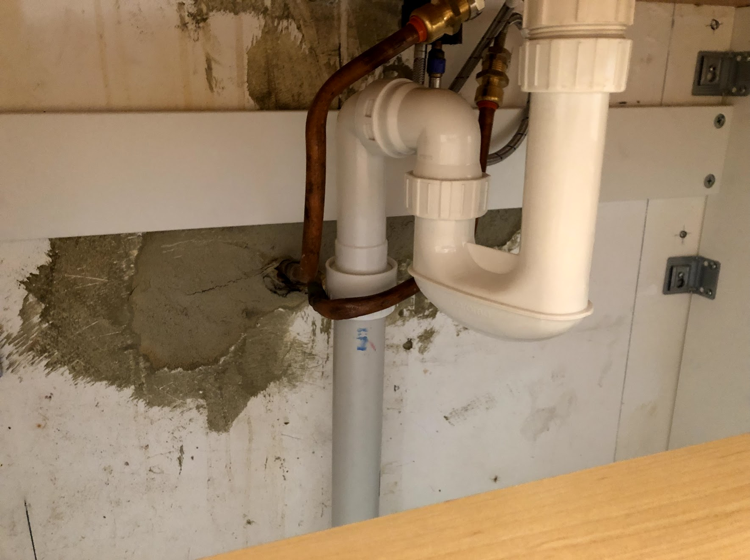
I’ve replace quite a few sinks for bathroom, kitchen and laundry renovations. The existing pipe work usually needs some alteration to fit the new sink especially if you’re changing from a normal under-mount sink to an above bench sink. The photo below shows what the plumbing usually looks like.
I always replace the S bend …. when you take a look at the build up in your drainage over the past 20 years or so you’ll see why. No wonder plumbers get paid so well! Check the diameter of your pipes before heading to the hardware store ( if I’ve already started hacking the plumbing I actually take the parts with me to make sure I get the right parts).
You’ll need at least one coupling, a length of pipe (usually in 1m lengths) two part plumbing glue, PVC hacksaw blade, new S bend. The S bend pivots and bends to fit the distance between the basin and the drainage pipe. Water sits in the ‘U’ shape part to stop smells coming up through the drainage.
